Something Borrowed
DIY Table Numbers in an Afternoon
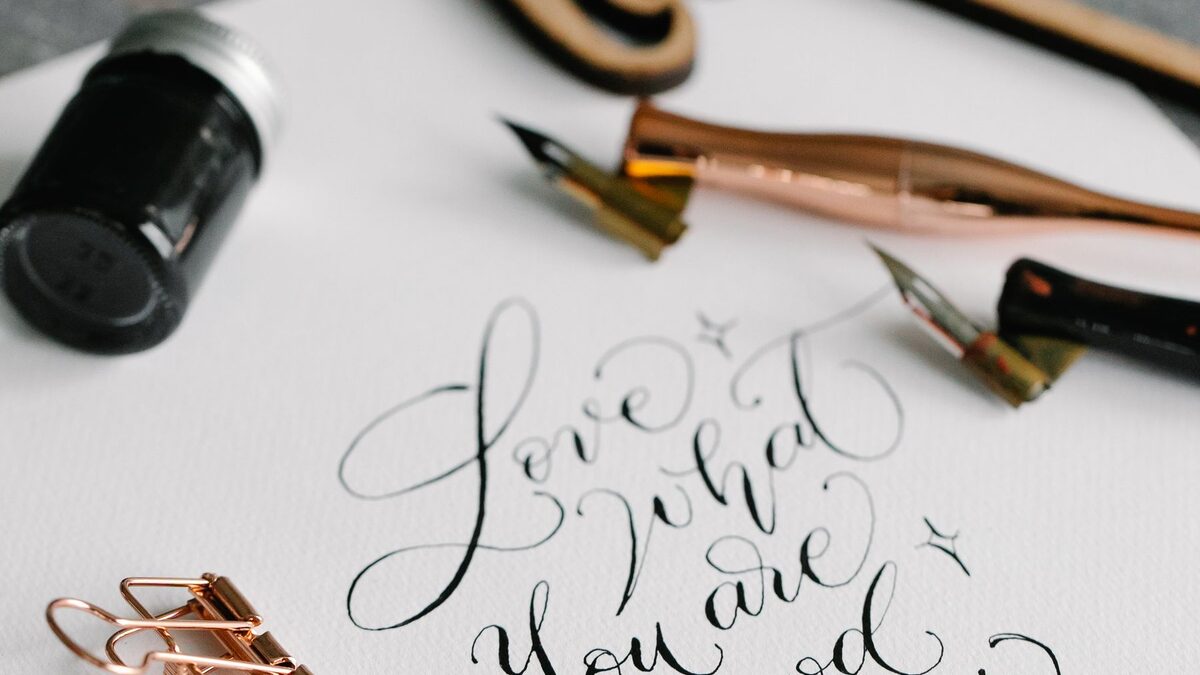
Of all the small DIY projects I've watched couples take on, table numbers are the one that actually delivers on the promise: low cost, genuinely achievable in one sitting, and the finished result looks intentional rather than homemade — assuming you follow a couple of small tricks that keep hand lettering from looking shaky. Here's the full process, start to finish, in about three hours including drying time.
What you'll need
- Ivory card stock, 110lb weight, cut to 5x7 inches (one sheet per table)
- A gold calligraphy or paint pen — we used a fine-tip brush pen, not a marker
- Wooden number stands, easel-style, one per table
- Craft glue or glue dots, for securing cards that slip in their stands
- Ruler, pencil, eraser, and a paper cutter or sharp scissors
A note on the card stock weight: anything lighter than about 100lb will curl or show pen bleed-through, especially with a wetter brush pen. The 110lb weight holds its shape on a table all evening, even near a centerpiece candle.
Step 1: Gather everything before you start
Lay out your card stock, pen, stands, and glue in one spot before you sit down. The biggest time-waster in this project isn't the lettering — it's getting up repeatedly to find a ruler you swore was in the junk drawer.
Step 2: Cut your card stock to size
Cut each sheet down to 5x7 inches, or whatever size fits your specific stands — measure one stand first rather than trusting the packaging. A paper cutter gives a straighter edge than scissors and is worth borrowing if you don't own one.
Step 3: Pencil in your guide lines
Lightly sketch a centered horizontal guideline across each card, plus a faint outline of the number itself. This single step is what separates clean-looking DIY numbers from ones that drift off-center by table twelve.

Step 4: Letter the numbers in gold
Go slowly over your pencil guide with the gold pen. If you're right-handed, work left to right and let the brush tip's natural thick-and-thin stroke do most of the "style" for you — you don't need actual calligraphy training for this to look intentional.
Step 5: Let the ink dry fully
Give each card at least twenty minutes flat before you stack or handle it — longer if your space is humid. This is the step people skip and immediately regret; a smudged "7" is not fixable.
Step 6: Erase the pencil lines
Once the ink is completely set, gently erase any visible pencil marks. Use a soft eraser and light pressure so you don't scuff the card stock surface.
Step 7: Set each card into its stand
Slot the finished card into the wooden stand. If your stands run slightly loose, a small dot of craft glue at the base keeps cards from sliding during setup and teardown.
Step 8: Double-check against your seating chart
Before the big day, lay every number out in order and cross-check it against your actual seating chart. It's a small step that catches the one embarrassing mix-up every DIY couple almost makes.
What it looked like on the day
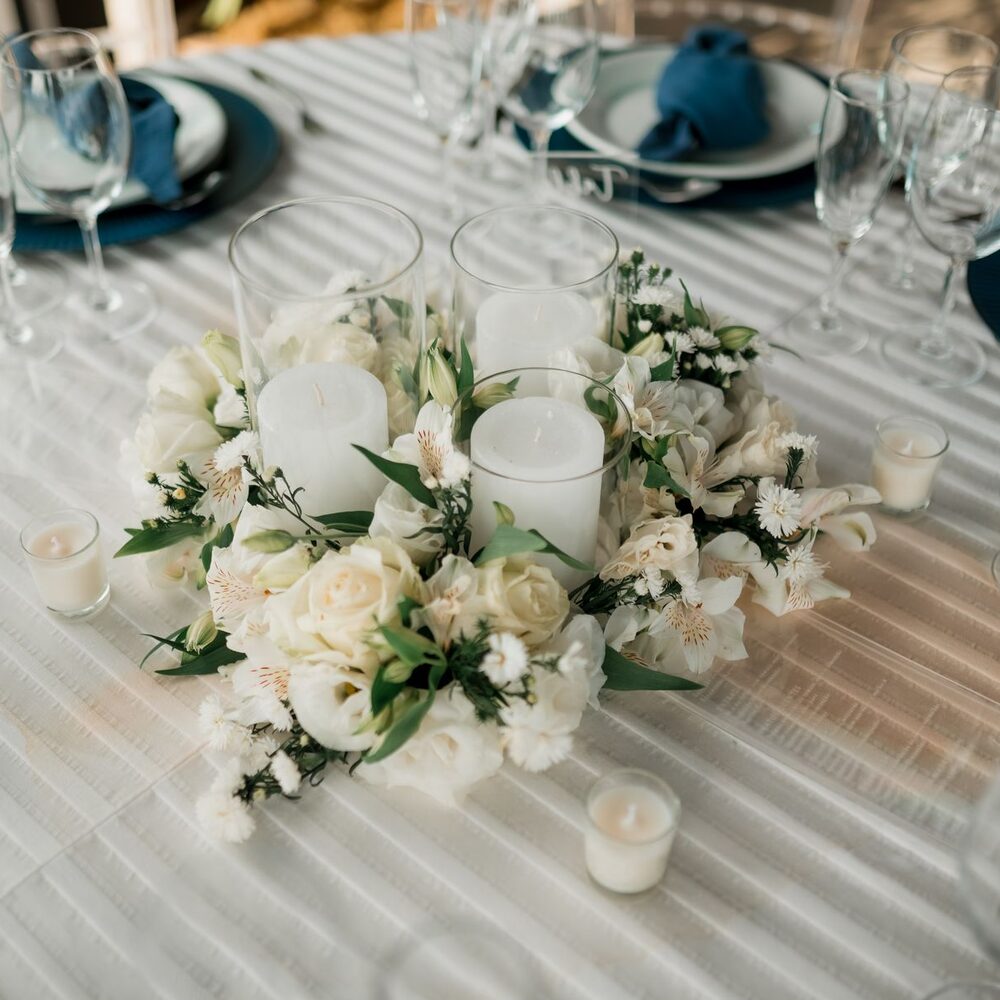
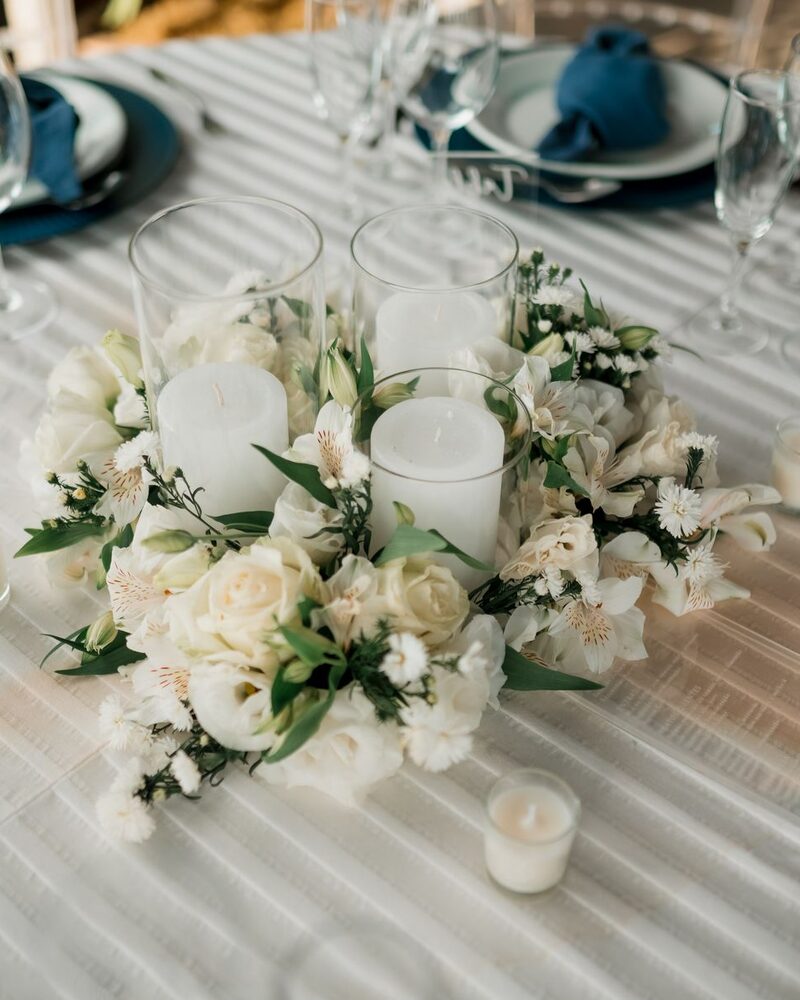
Photos: Jonathan Borba & Andy Lee / Pexels.
Where we bought our materials
Nothing here needs to come from a specialty shop. We used card stock from a standard craft store multi-pack, a brush pen from the same store's pen aisle, and wooden stands ordered online in a set of twelve. Total cost for twelve tables came to just under $45, which is a fraction of what most stationers quote for printed table numbers alone.
- Ivory card stock, 50-sheet pack — around $14
- Gold brush calligraphy pen — around $7
- Wooden number stands, set of 12 — around $22
If your handwriting isn't the issue — your nerves are
The single most useful trick we picked up from a calligrapher friend: practice each number five or six times on scrap paper before touching your real card stock. By the fifth attempt, your hand has essentially memorized the stroke, and the version that ends up on the actual table number is almost always your best one.
Common mistakes worth avoiding
A few things that tripped up readers who tried this project after we first wrote about it. First, buying card stock that's too thin to stand upright in the wooden stands on its own — if your stands rely on the card's own stiffness rather than a slot that grips it, go up a weight from what the craft store recommends. Second, choosing a paint pen with too wide a tip for the number size; anything larger than about a 2mm tip tends to overwhelm a 5x7 card and makes the numbers look bulky rather than elegant. Third, and this one's purely logistical: numbering your tables before you've finalized your seating chart, which inevitably means redoing at least two or three cards once the final chart locks in. Finish your seating plan first, then start lettering.
If you'd rather skip the hand lettering entirely
Hand lettering isn't required to get this look. A home printer, a sheet of the same ivory card stock, and a gold foil or metallic-ink printer setting can produce something visually close, at the cost of a slightly more uniform, less personal look. Several couples we've heard from do a hybrid version: printing the base numeral in an elegant serif font, then tracing just the outline in gold pen for a bit of texture. It's a reasonable middle ground if an entire afternoon of lettering doesn't appeal to you, and it still costs a fraction of what a stationer would quote for the same finished product.